
How to Organize Your Recipes on iPhone (The Right Way)
The recipe chaos problem
If you cook regularly, your recipes are scattered. Saved posts in Instagram. Bookmarks in Safari. Screenshots buried six months deep in your camera roll. Handwritten notes on scraps of paper. Links forwarded from friends in text message threads you will never find again. Cookbook pages you meant to photograph but never did.
The problem is not that you lack recipes — it is that your collection is too fragmented to use. When it is time to decide what to cook, finding a specific recipe means hunting across five different places. Half the time you give up and just order food instead. Organizing your recipes on iPhone solves this. One place, everything searchable, accessible while you are standing in the kitchen with flour on your hands.
Choose one central app — and commit to it
The single most important step to organizing your recipes on iPhone is committing to one app where everything lives. Not two apps, not three. One.
The app you choose needs to handle multiple input types — not just URLs, but also photos of physical cookbooks and handwritten recipes, because those are where many of your best recipes likely live. It also needs to store recipes offline so you are not dependent on wifi while you are cooking.
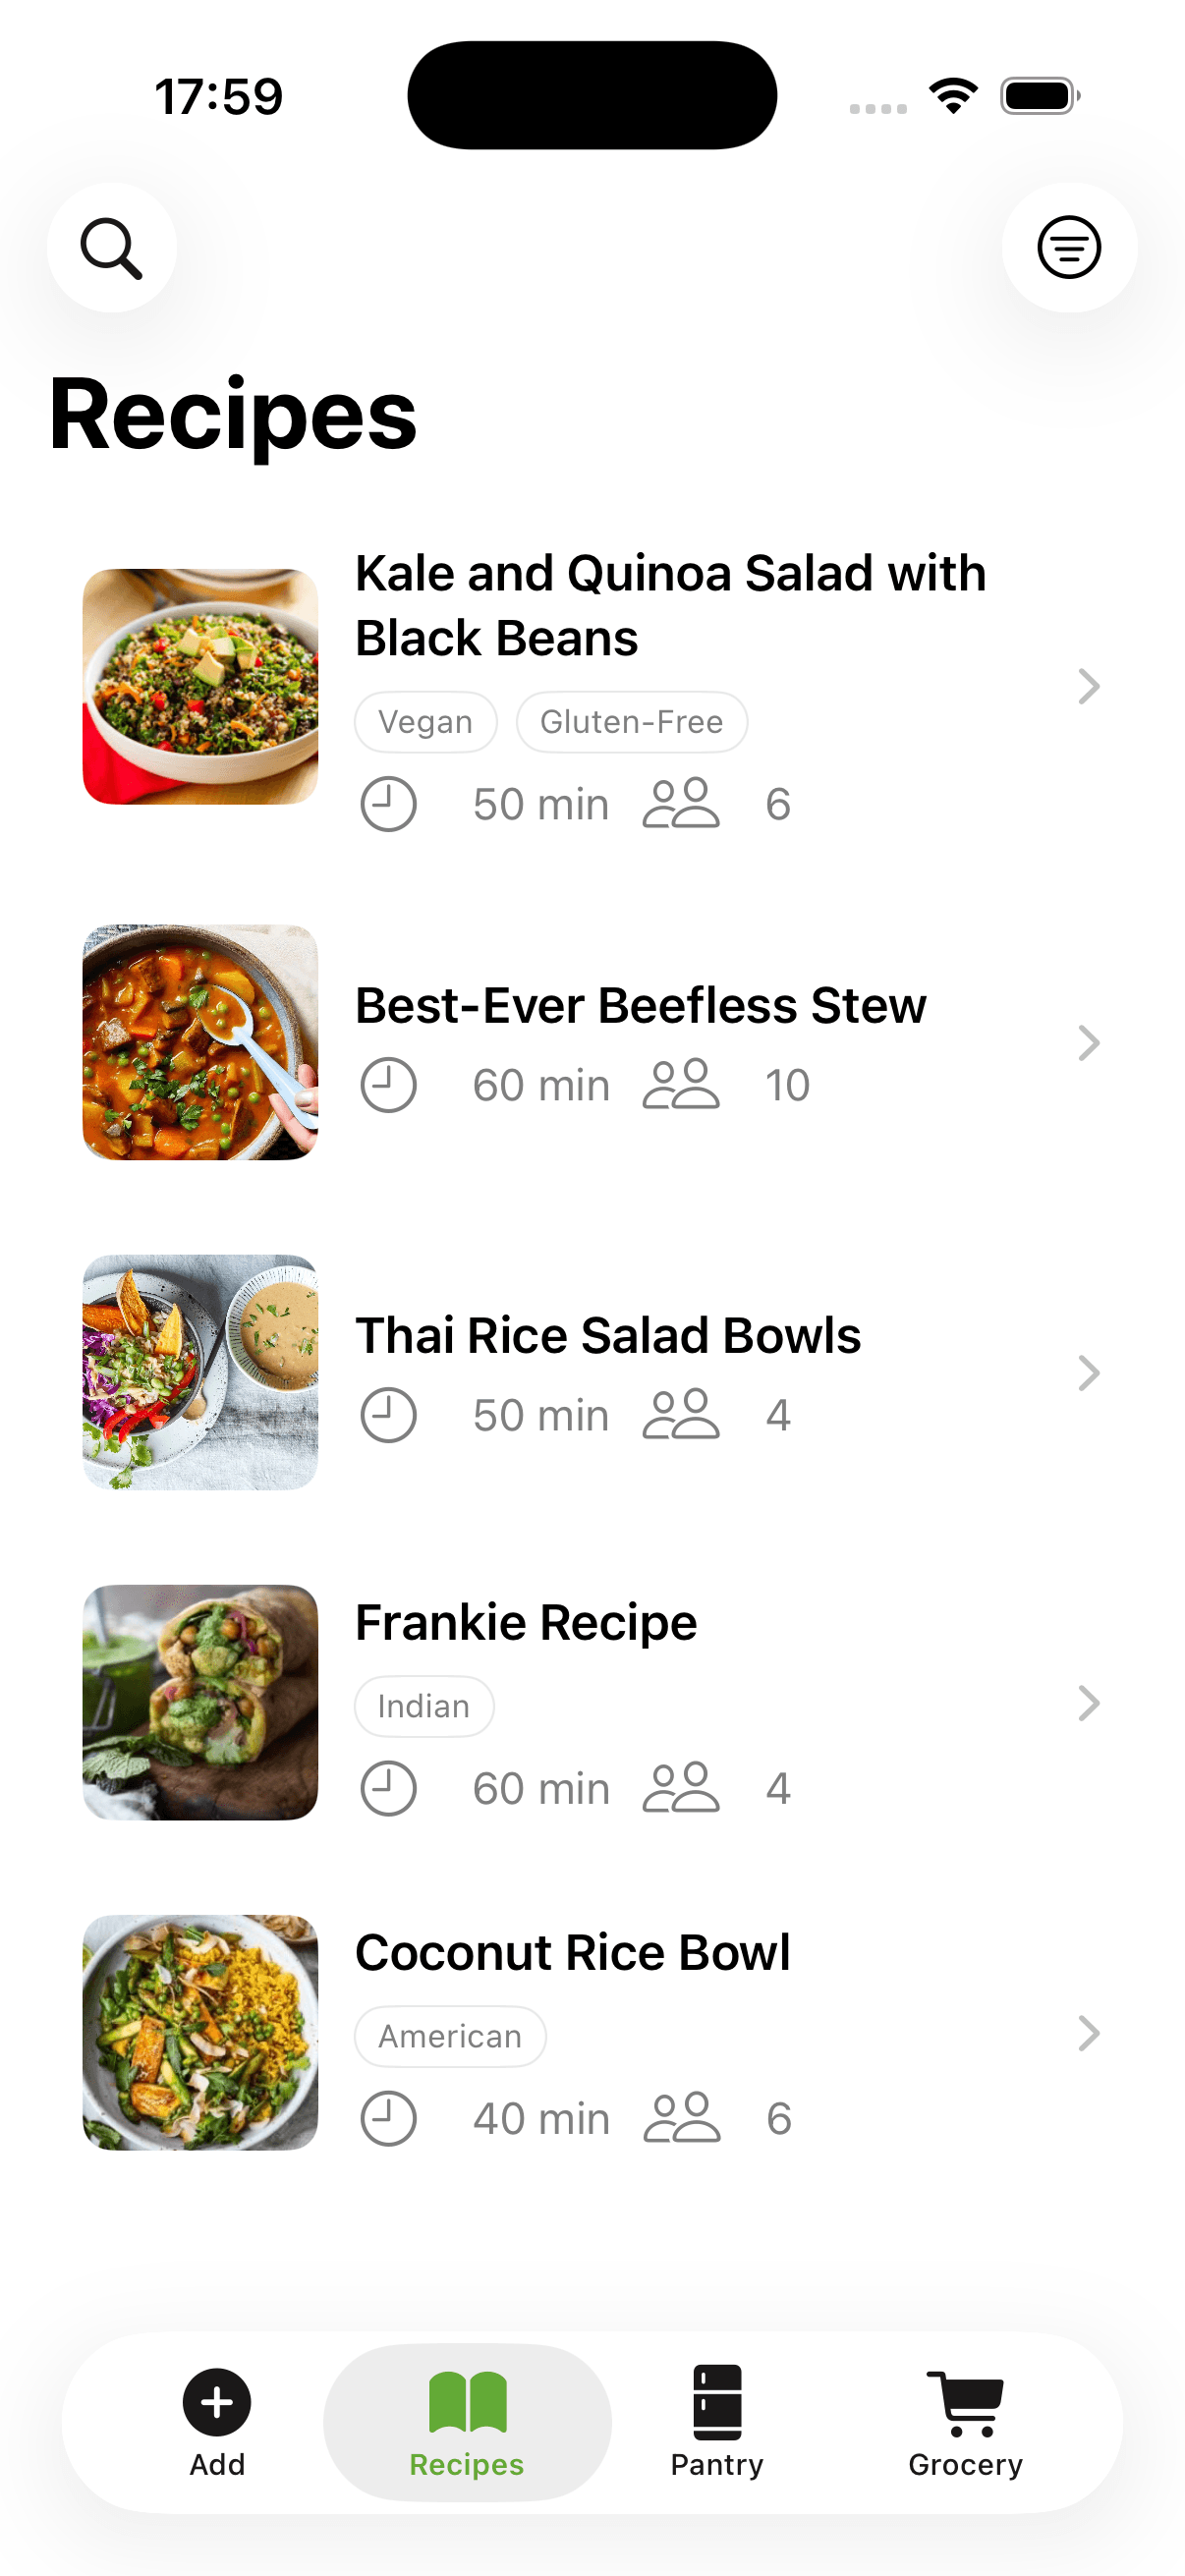
CookFlic is designed specifically as an iPhone recipe manager that covers all input methods. Share a link from Safari and it extracts the recipe automatically. Open the camera and scan a cookbook page. Paste a YouTube URL and it pulls the recipe from the video transcript. Once you have one central app, the next step is getting everything into it.
If you start with a recipe app that requires too much manual entry, you will abandon it within a week. Choose one that does the heavy lifting for you.
Import your existing collection — but be selective
Start by moving the recipes you actually cook, not everything. Go through your browser bookmarks, screenshots, and saved posts and import the ones you have made in the last year. Ignore recipes you saved on impulse but have never tried. If you have not cooked it in twelve months, it probably is not worth importing.
This keeps the import process manageable and ensures you are not spending hours archiving recipes you will never use. Go through your browser bookmarks first — any cooking bookmark gets imported by pasting the URL. Then go through your screenshots. Any screenshot of a recipe gets scanned with the camera. Text message threads last.
For physical cookbooks, you do not need to import every page. Mark the recipes you actually use regularly, then scan just those. A cookbook with thirty recipes might only have six that you return to. Start with those six and add more over time as you make them.
Tag and categorize as you go
Tags make your recipe library searchable and filterable. The best tagging system is one that matches the way you actually look for recipes, not the way a cookbook author would categorize them.
Useful tags fall into a few categories: meal type (breakfast, lunch, dinner, snack, dessert), cuisine (Italian, Asian, Mexican, Mediterranean), dietary needs (vegetarian, vegan, gluten-free, dairy-free), cook time (under 30 minutes, under 1 hour), and occasion (weeknight, weekend, meal prep, entertaining).
You do not need all of these — pick the ones you actually filter by. Add tags when you import a recipe and you will never have to go back and tag everything in bulk later. Most good recipe apps let you filter by multiple tags at once, so 'vegetarian' plus 'under 30 minutes' gives you exactly what you need on a busy Tuesday.
How to digitize physical cookbooks on iPhone
Physical cookbooks are where many people's best recipes live — and also where they stay, untouched and unsearchable, on a shelf.
Digitizing cookbooks does not mean scanning every page. It means capturing the recipes you actually use in a format that is findable. Start with the five or ten recipes from each cookbook that you return to regularly. Open a recipe app with camera scanning, point your iPhone at the recipe page, and let the AI read it. A good recipe scanner can distinguish ingredient lists from instructions and extract the structure automatically, even from older cookbook layouts with unusual formatting.
Once a recipe is in your app, you can annotate it: add your own notes about what worked, what you changed, what substitutions you made. Your digitized cookbook becomes your personal version of the recipe — edited, tagged, and ready to find in seconds.
For recipes with sentimental value — handwritten family recipes, recipe cards from relatives — digitizing them preserves them permanently regardless of what happens to the original.
Set up your collection for long-term use
A recipe library is only useful if it stays current and easy to navigate. A few habits keep it healthy over time.
Delete recipes you made once and did not enjoy. An overcrowded app with mediocre recipes gets harder to use over time. Mark favorites so your best recipes surface first. When you discover a variation that works better — a different sauce, a substitution that improved the dish — update the recipe in the app to reflect what you actually cook.
If you use iCloud backup on your iPhone, your recipe app data is backed up automatically along with everything else. This means your collection survives when you upgrade to a new iPhone without any manual export.
A recipe library that gets maintained over time becomes a record of your cooking life, not just a collection of links.
Keep it alive
The difference between a recipe app that helps you and one that collects dust is the habit of adding recipes immediately when you find them, rather than bookmarking or screenshotting for later.
When someone sends you a recipe link in a message, open your recipe app and import it right then. When a cookbook page catches your eye, scan it on the spot. When you find a recipe on a website, import it before you close the browser tab.
These three seconds of friction at the point of discovery save you twenty minutes of hunting later. A recipe library that gets updated in real time is always ready when you need it — which is the whole point of organizing your recipes in the first place.
Ready to cook with what you have?
CookFlic captures recipes from anywhere, matches them to your pantry, and guides you step-by-step. See all features →
Get Early AccessFrequently Asked Questions
What is the best way to organize recipes on iPhone?
The most effective system is a single dedicated recipe app that handles all input types — URLs, camera scans, and shared links. From there, tag recipes by cuisine, cook time, and dietary type as you add them. The goal is a searchable library you can filter quickly while standing in the kitchen.
Can I scan a cookbook with my iPhone camera?
Yes. Recipe apps with built-in camera scanning let you point your iPhone at any cookbook page and extract the recipe automatically — ingredients, quantities, and steps. This is the fastest way to digitize physical cookbooks without any manual typing.
How do I import recipes from websites on iPhone?
From Safari, use the share sheet to send a recipe URL directly to a compatible recipe app. Alternatively, copy the URL and paste it into the app's import field. A good recipe app strips out the ads and clutter and extracts just the ingredients and instructions from almost any recipe website.
How do I organize recipes without an app?
Without an app, the most practical approach is a folder of bookmarks in Safari organized by category, combined with a Notes folder for photographed physical recipes. That said, a dedicated recipe manager app is significantly more useful because it makes recipes searchable by ingredient, lets you filter by cook time and cuisine, and scales servings automatically.
Related articles
8 min read
5 Ways to Cook With What You Have in Your Fridge
Stop running to the store for one missing ingredient. These five strategies help you make great meals from the food already sitting in your kitchen.
7 min read
Why Meal Planning Starts With Your Pantry
Stop planning meals you will not cook. The best way to meal plan from your pantry is to start with what you already have — not a list of recipes from a food blog.